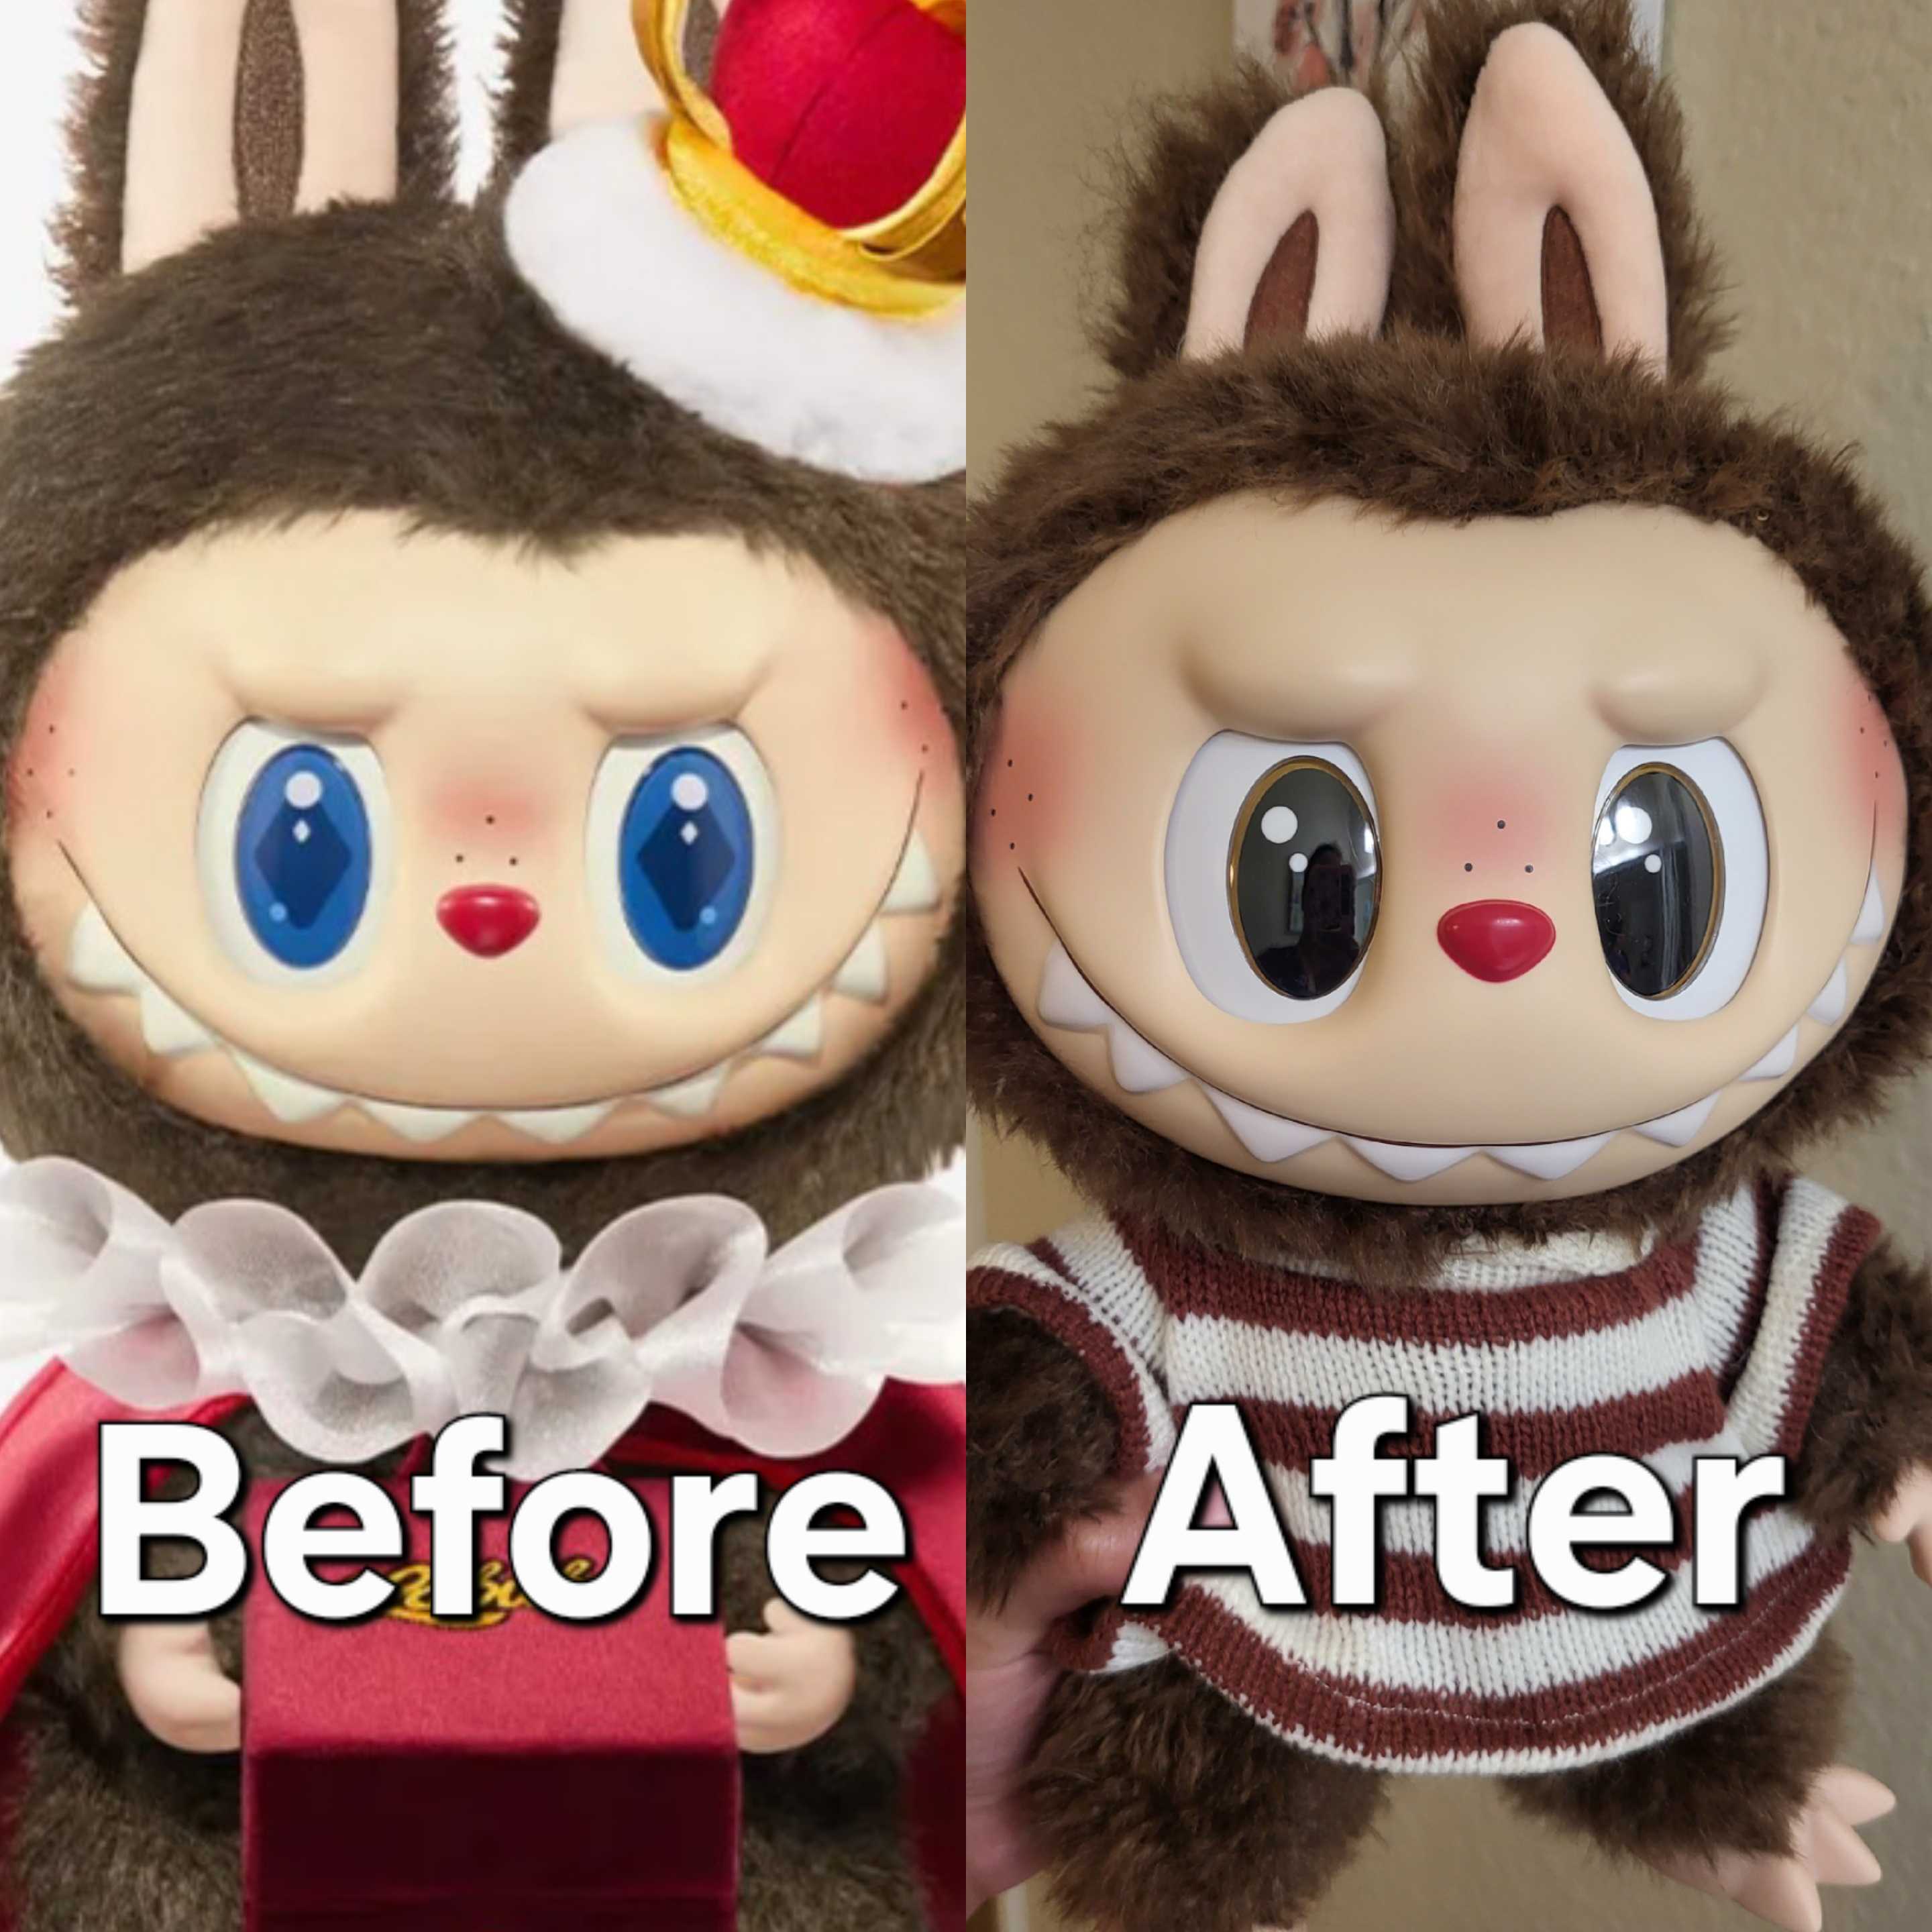
After recently becoming obsessed with Labubus, I have seen many tutorials on how to change the eyes of the 17cm plush dolls, but not a lot of information about the 38cm/15in “big Labubu” dolls. After deciding to customize my Checkmate King, I wanted to make a little tutorial to help anyone who would like to customize their own large size Labubu. (Keep in mind that this won’t work on Flip With Me since she has a different eye mechanism. Also keep in mind that this is for Labubus of the aforementioned size, not the small pendants or Zimomos.)
I recently got my Checkmate King some eye stickers from AliExpress since I wanted her to look like the mascot Labubu with freckles, but the only thing that was different was the eye color. I set out to change her eyes to brown like the character, but wasn’t exactly sure how the eye mechanism worked since it’s clearly different from the small pendant Labubus. Eventually after seeing someone in the community with a customized one, I decided to experiment a bit.
As a preface, I have many years of sewing and also doll customization experience, so these steps to customize my Labubu were relatively easy for me, but I understand not everyone has this experience and may be overwhelmed or worried. I’d suggest before starting to watch some tutorials on the ladder stitch, as it will be needed for this project.
For this project, you will need:
• Seam ripper
• Needle and thread in the same color of your Labubu’s fur
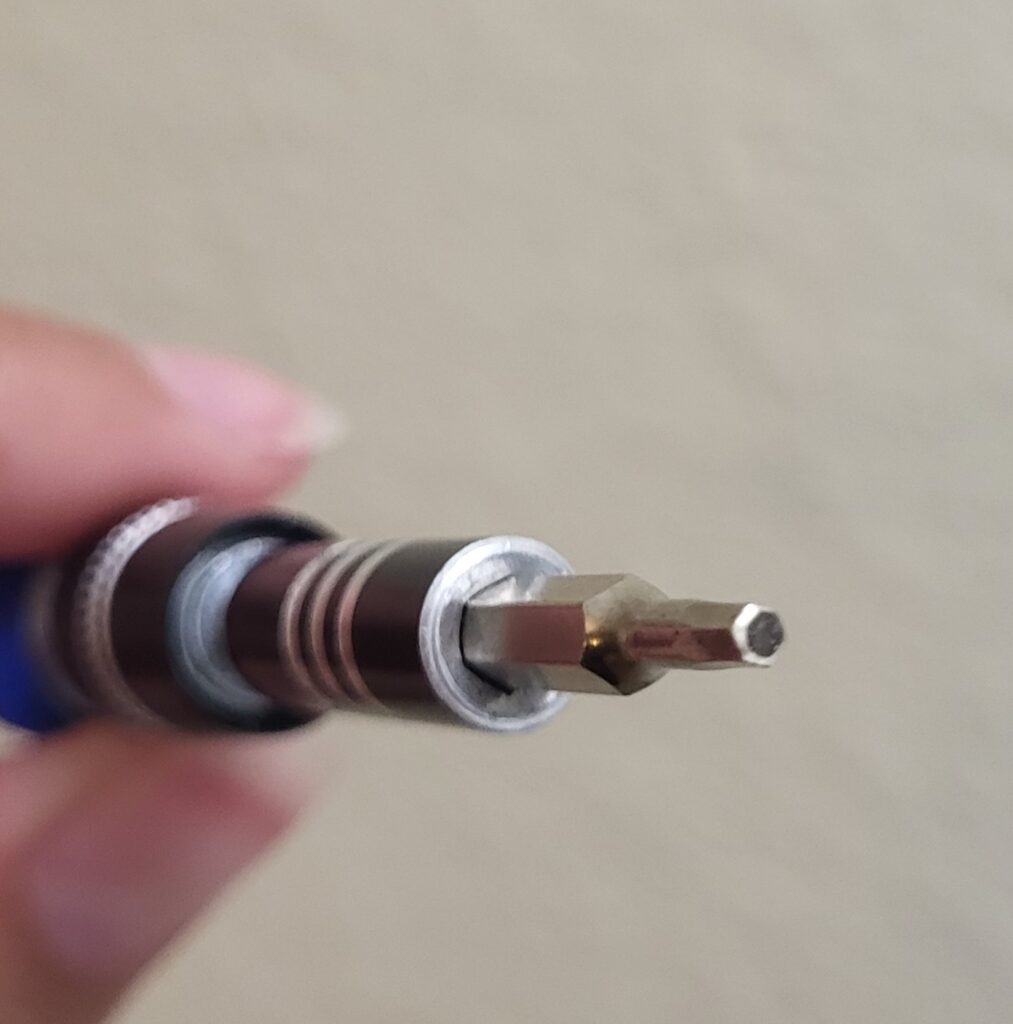
• A 2mm hex screwdriver
• Eye stickers or paint
• A hair dryer (only if you are using eye stickers)
• Stuffing (optional)
Step 1
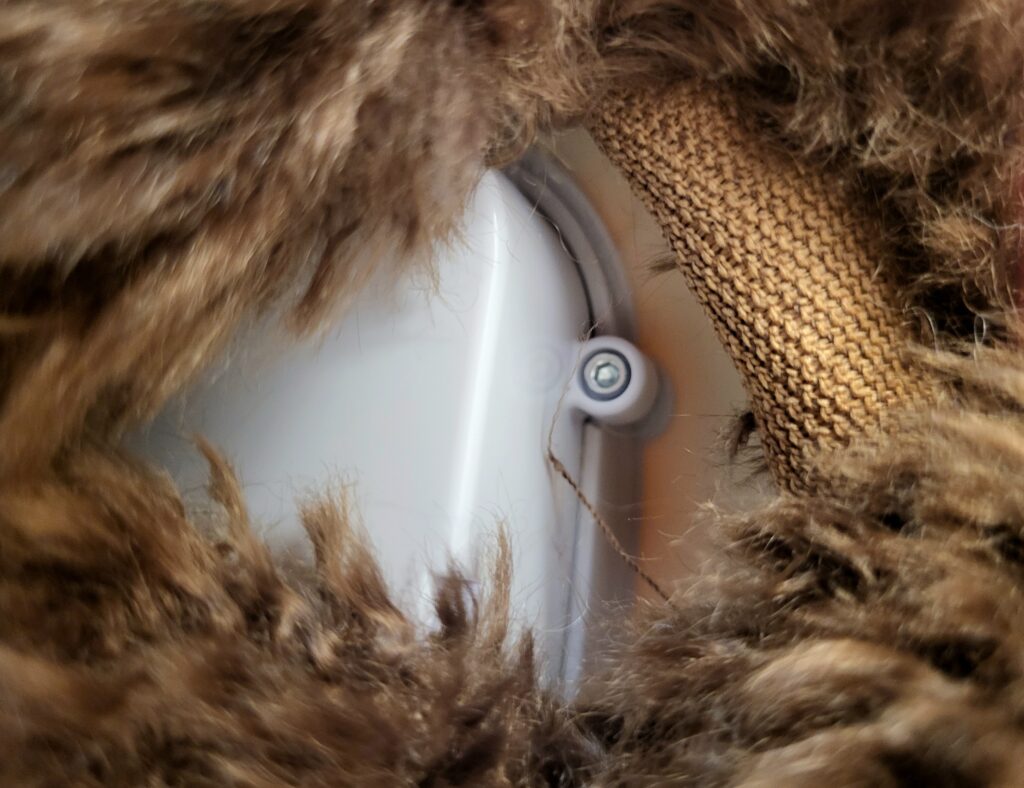
Grab your seam ripper and go to the back of your Labubu’s head. You will want to find what’s known as the ladder stitch, this is where the Labubu was stuffed and sewn up. It may be difficult to find with the fur, but it should be a line in the center of the head, you may find it easier by pulling the fur apart a bit. Once you find it, use your seam ripper to carefully make an incision going across the line, you’ll find that the whole thing should start to unravel and reveal the stuffing inside the head.
Step 2
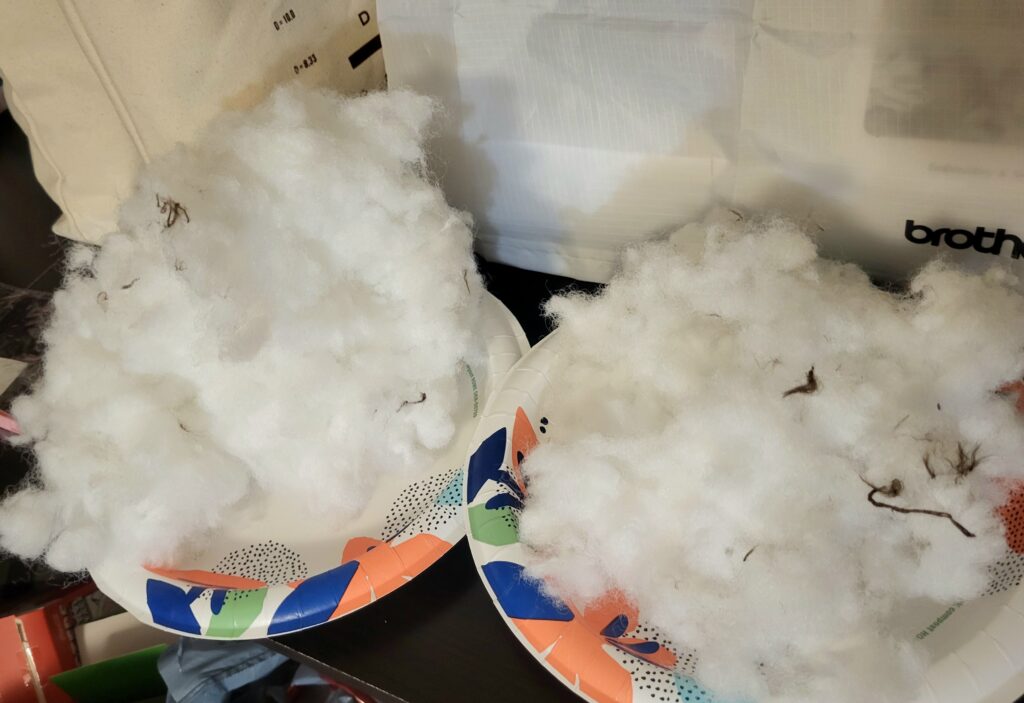
Once you’ve opened up the head, you’re going to have to remove the stuffing. Save it for later if you don’t have any more on hand because you will have to put it back.
Step 3
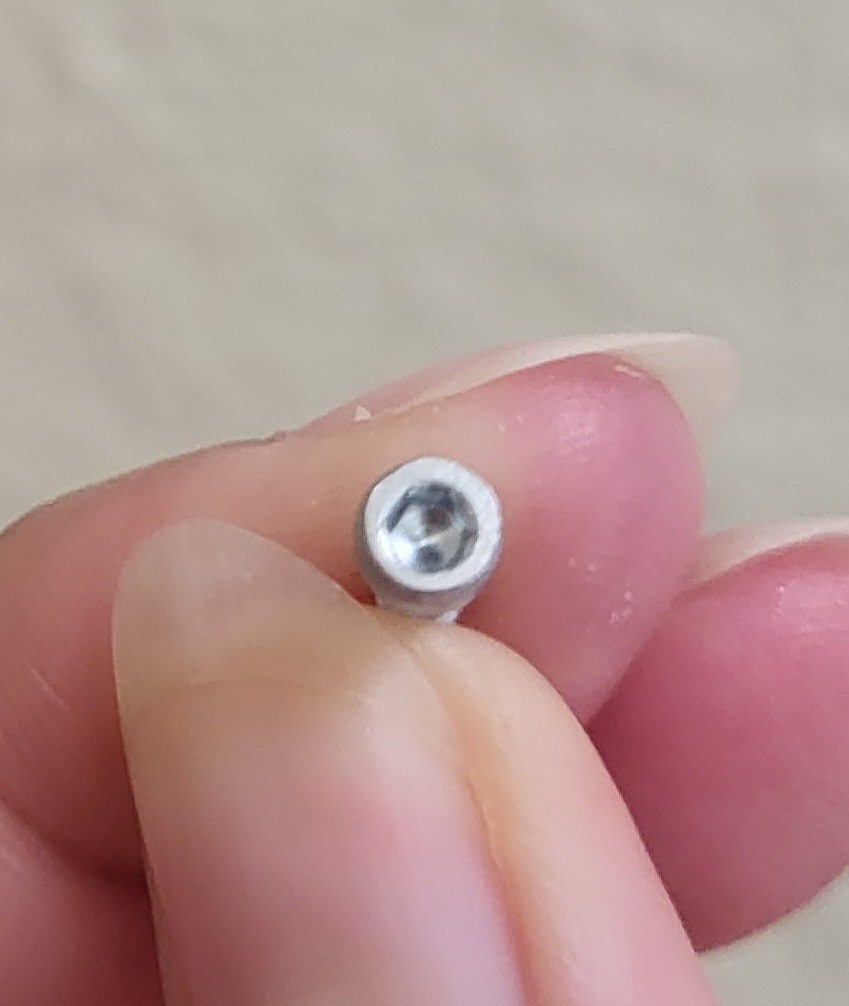
After you remove the stuffing, you will see the white eye mechanism box at the bottom. To remove it, you will need your 2mm hex screwdriver. There are 4 screws on each corner, remove all of them.
Step 4
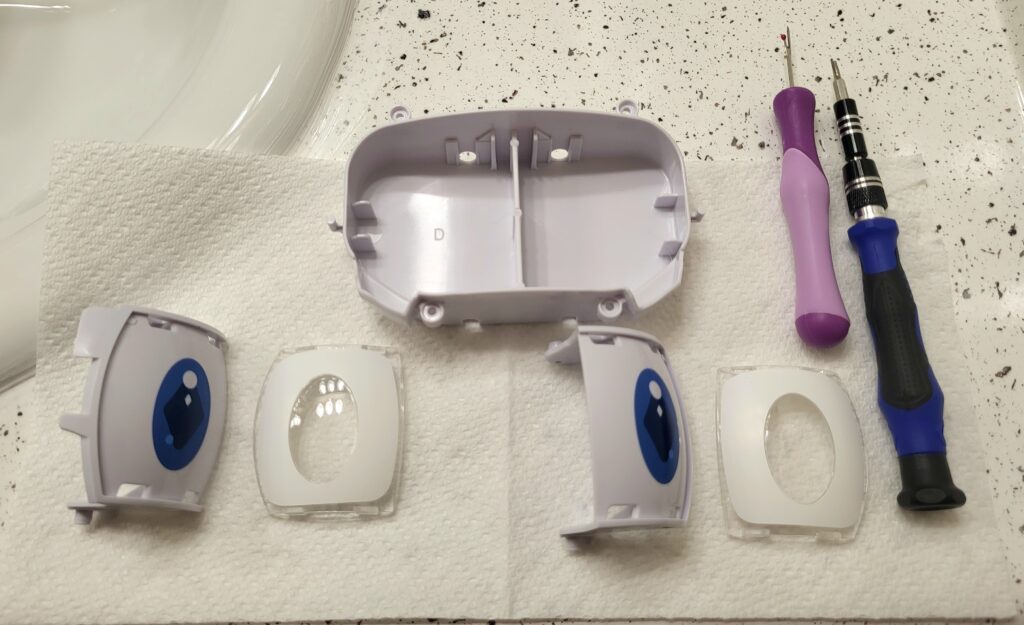
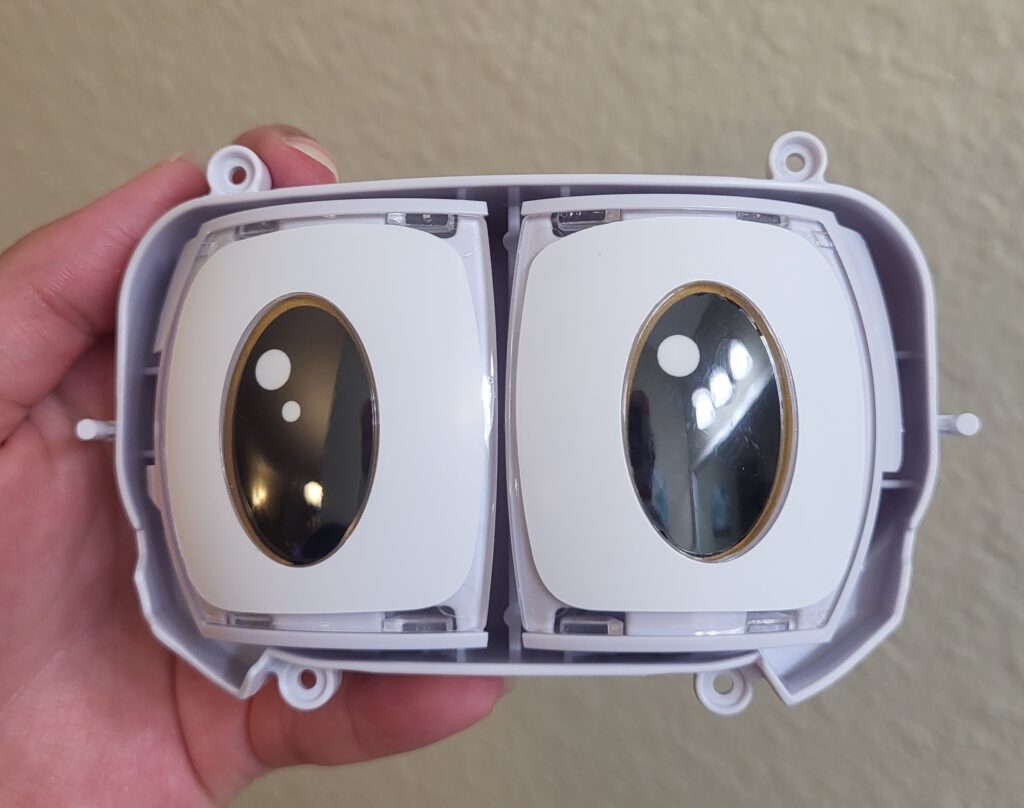
Now that the box is out, you will see the eye mechanism in all its glory.
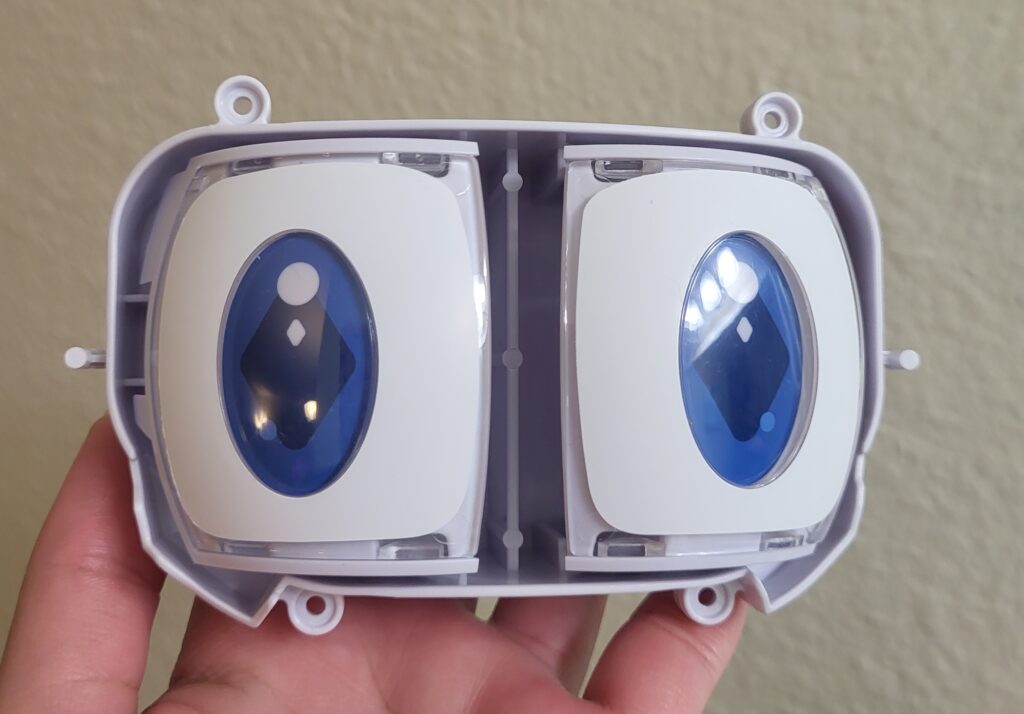
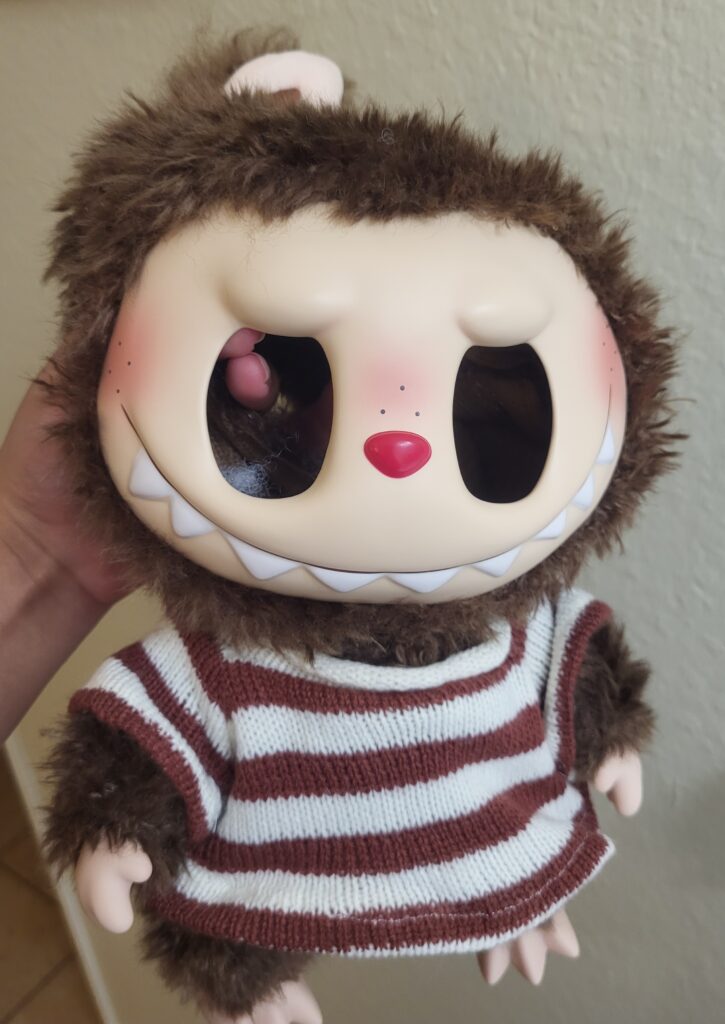
…and your Labubu will be looking rather scary for a bit.
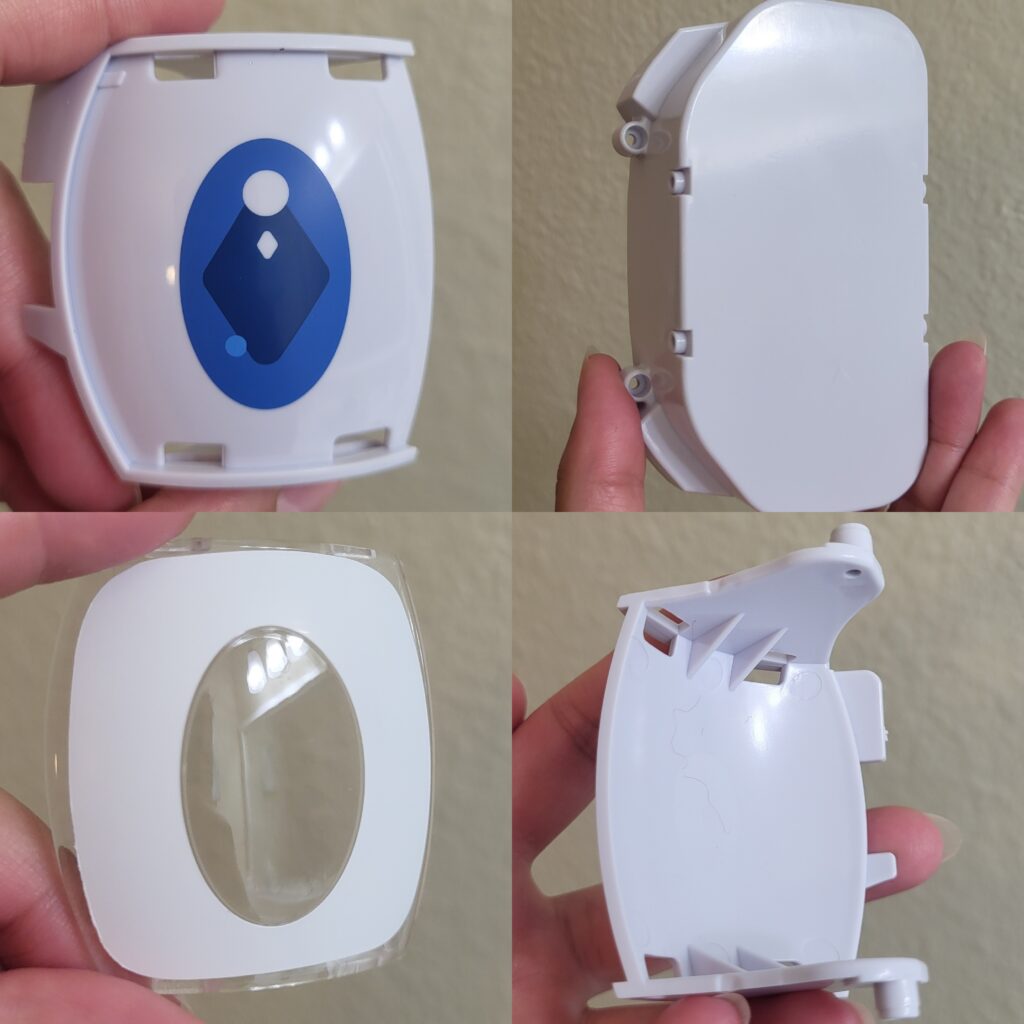
To remove the individual parts, squeeze each eye part at the back until they dislodge, they should come out with relative ease. To remove the acrylic casing on top, use your screwdriver to push in the two parts at the top, it should come out.
Video attached below for more instruction:
Step 5
Once your eye mech is disassembled, you can now customize the eye to your will, I will be using stickers from Aliexpress for this project, but you can paint them or use whatever you’d like to customize your Labubu to fit your vision!
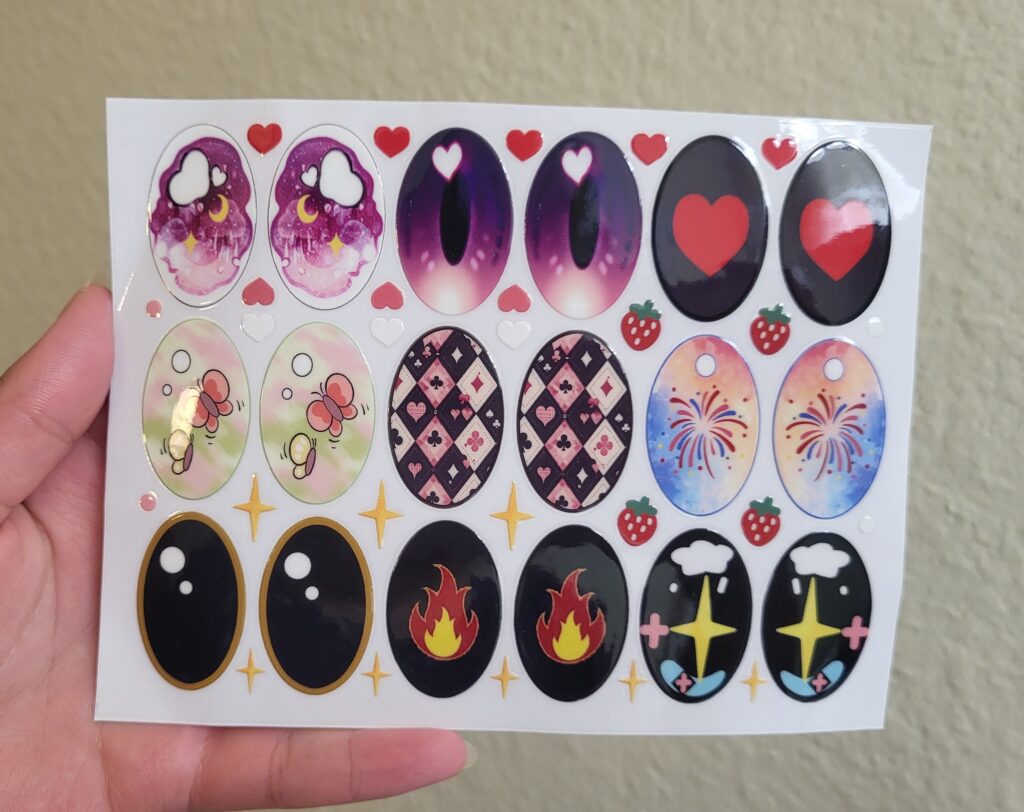
For the stickers, it’s recommended to heat them up before use, since they are very prone to breaking, and the application is much smoother. I used my hair dryer at high heat for about 10 seconds to remove them from the paper, then quickly put them directly over the pre-painted blue iris of the eye. It took a bit of adjusting to get it perfectly flat and straight, but with each adjustment, I reheated with the hair dryer to avoid breaking the sticker.
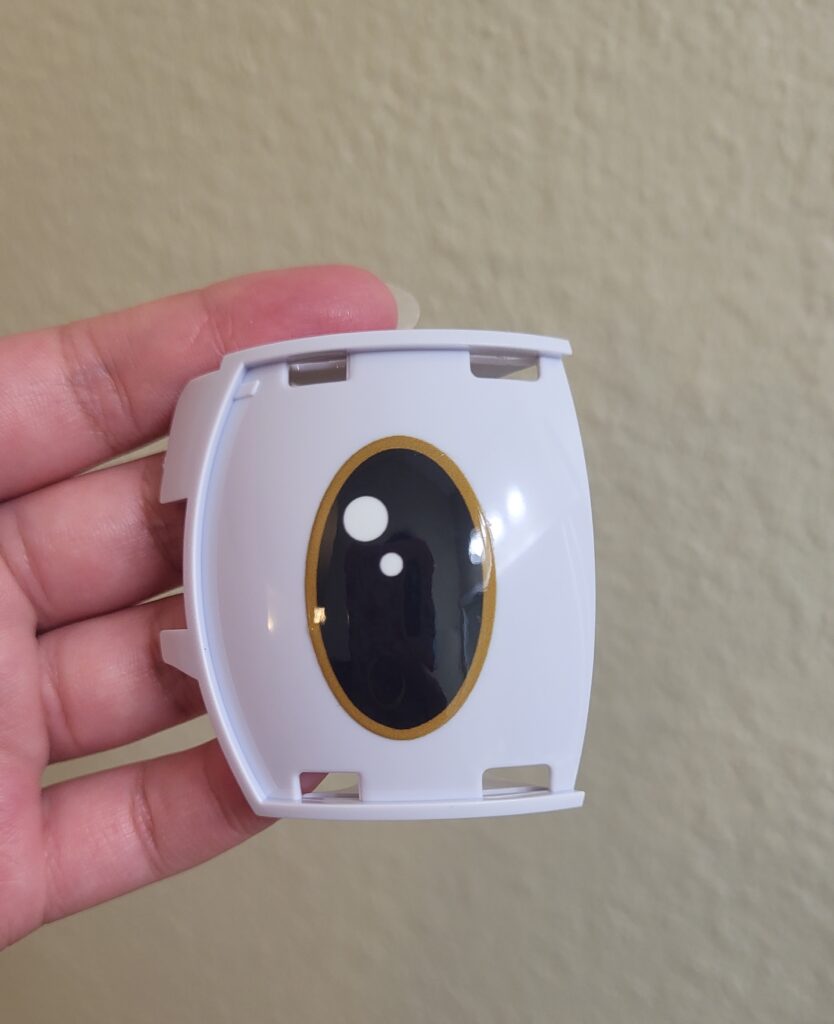
After putting the sticker over the iris, I made sure that the acrylic covering was clean and dust free, then reattached simply by pushing it back on. After doing that for both, I put the eyes back inside the mech by squeezing much in the same way I removed them.
Be careful to make sure they are put in properly, and that they are not backwards! Once you sew your Labubu back up, it will be very hard to make changes.
Step 6
When you’re satisfied with how your Labubu’s eyes look after customization, it’s time to set them back in the head!
Make absolute sure that they look how you want them to or you will have to reopen the head again to adjust.
Put all 4 screws for the eye mechanism back inside the head. Play around with the eyes to make sure you’re satisfied with the look and that they work properly.
Step 7
It’s time to restuff your Labubu’s head! Take the stuffing you took out previously (or any new stuffing you might have on hand) to plump up her head again. I used new clusterfill stuffing for mine.
Make sure you put stuffing around the eye mechanism and around the neck before filling up the rest of the head. If you’re new to stuffing plushies, watch some tutorials on YouTube or TikTok to help further!
Make sure that her head is nice and evenly stuffed, and make absolute sure that you’re satisfied with how she looks before you stitch her back up!
Step 8
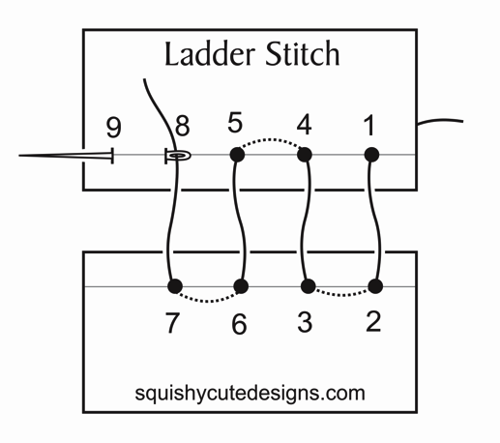
At last, the final step is to stitch her head back up! As mentioned before, you will need to know the ladder stitch for this, if you don’t, there are many great tutorials for how to do this. It is very simple and one of the most useful stitches you will ever learn.
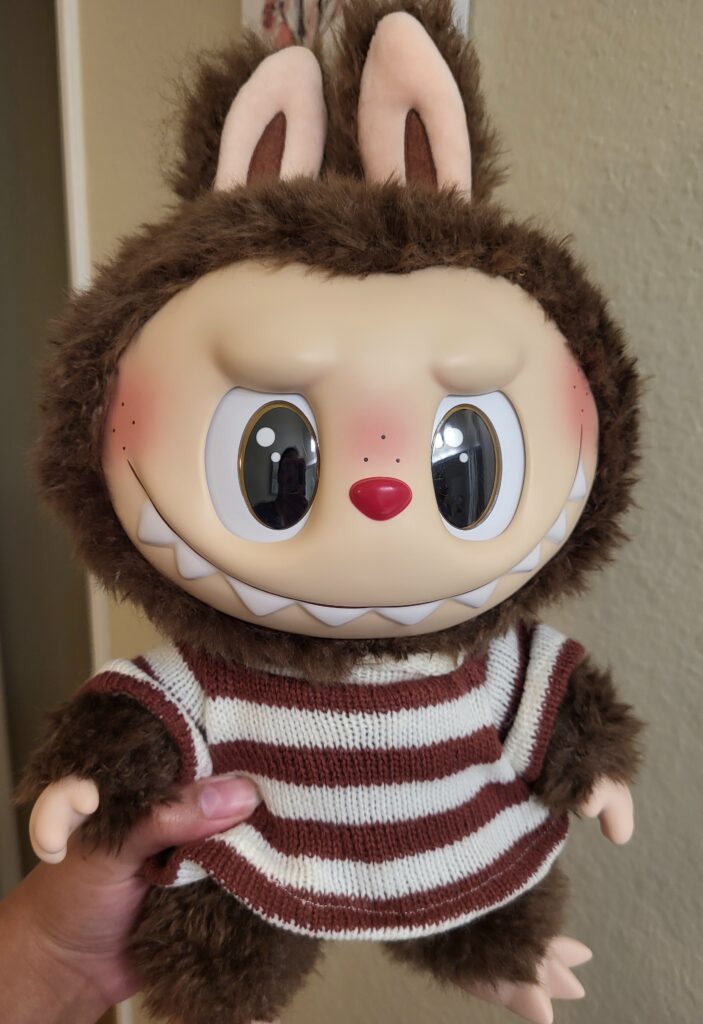
Once she is sewn back up, your Labubu is free to look around with her new eyes!
I hope this tutorial was useful for anyone that wanted to change their big Labubu’s eyes, my Checkmate King is very happy with her new eye color!
Leave a Reply
You must be logged in to post a comment.